

Table of contents
I’m a huge fan of plants. My collection of aesthetically pleasing ones as well as the edible ones, like spices, is quite broad.
But I have 3 of them that seem hanging on the bridge of death for 2 years now. Well, at least until 2 months ago. More precisely, until the moment when they got the ability to communicate in a digital manner.
I call them Yucca, The plastic one and Wannabe Yucca. Neither of them are are Yucca plants nor made of plastic. But one thing they do require is a very strict watering routine.
My irritation sensors start tingling when I hear the word routine, and with no natural hope in sight, I took it upon myself to improve our communication.
First Contact
The idea is to monitor the soil moisture with a sensor, powered by a NodeMCU board. The parts we will need:
- Home Assistant
- ESPHome
- ESP8266 Microcontroller
- Capacitive Moisture Sensor
- Project enclosure
- Micro USB cable
- Breadboard
- Jumper wires
- Drill
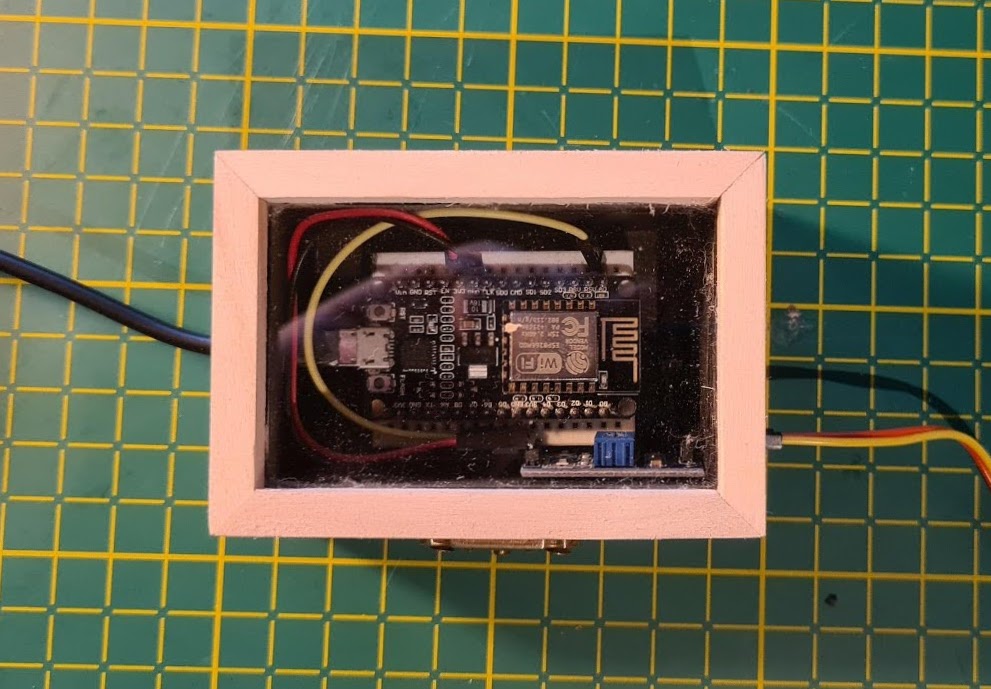
First thing we need to do is to connect the electronic components. We connect the sensor to the microcontroller like shown in the schema below.

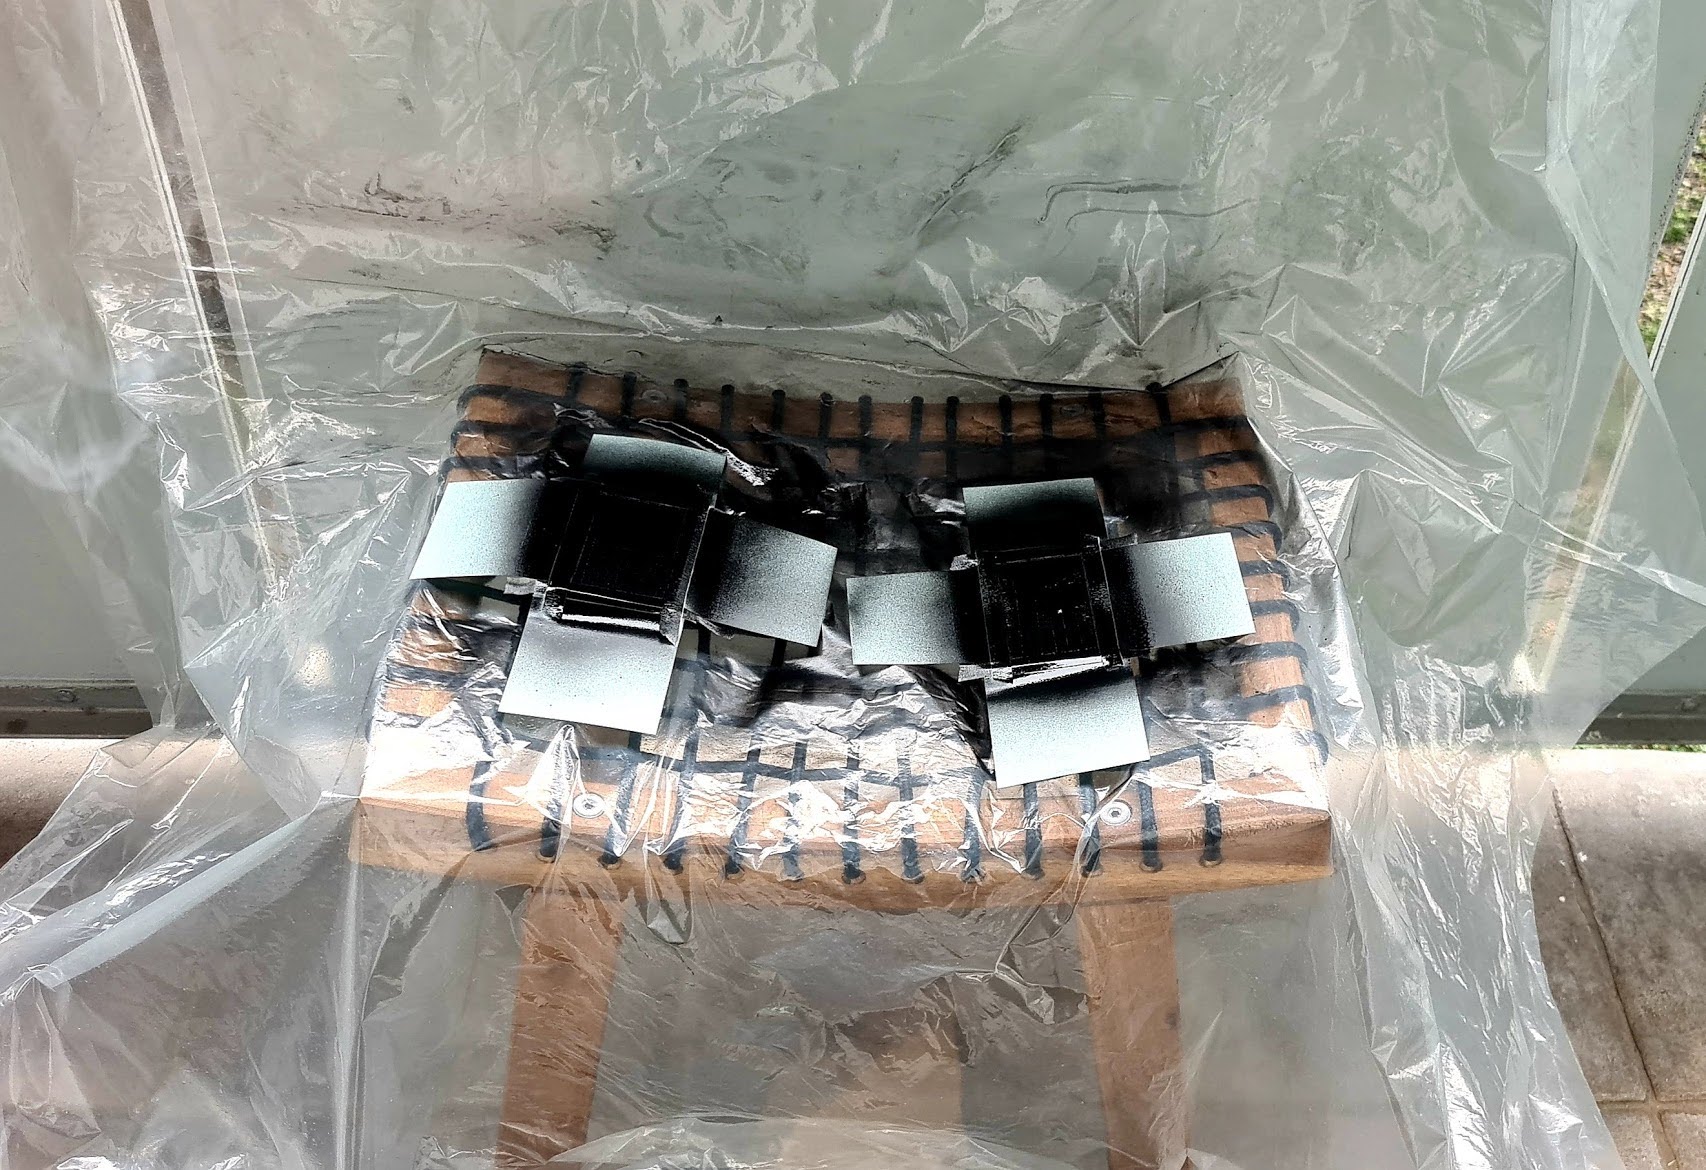
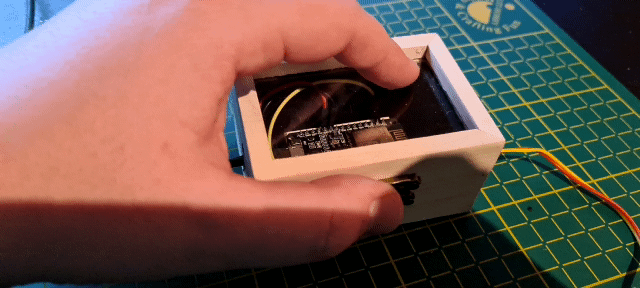
Using the hobby drill tool, we’ll modify the enclosure for the components to fit and include a hole to easily expose the sensor. I bought a couple of wooden boxes and spray painted their interiors with matte black paint, purely for aesthetics.
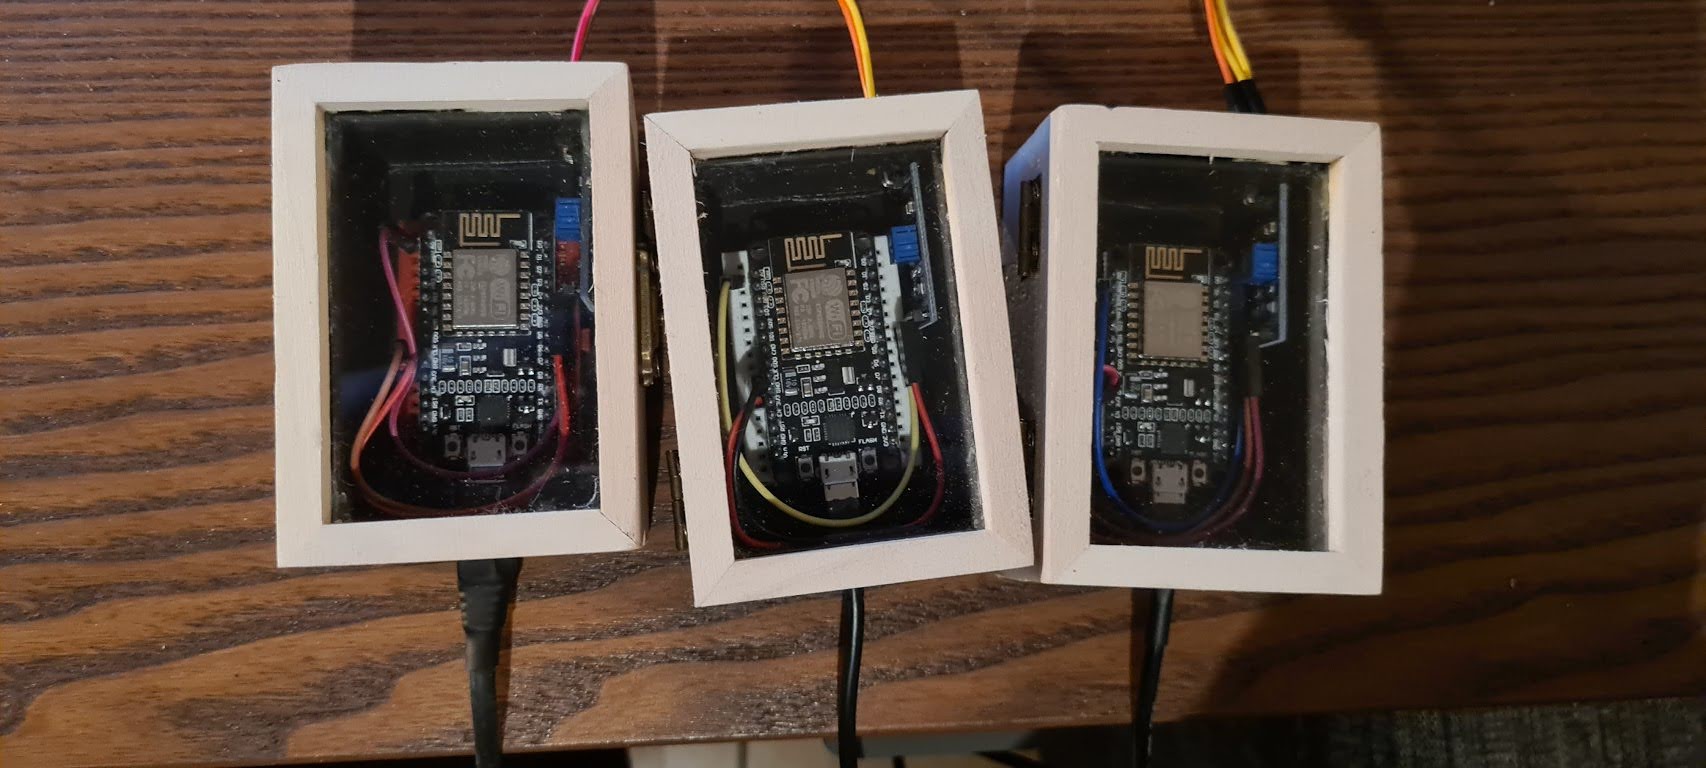
With everything connected, we just have to make 2 more copies and polish them a bit because they are still dirty from the drilling and sanding.
I love this approach. The box has a hinges and can be opened and fiddled with any time.
Interfacing with Home Assistant
I got Home Assistant running on a dedicated Intel NUC with the supervisor included, as well as the ESPHome add-on set up. To get the MCU up and running I just need to add a new ESPHome configuration and upload it to the board using a USB cable the first time. After the initial firmware upload we have the ability to create Over-The-Air updates which is indicated with the OTA section in the configuration.
ESPHome configurationyaml
esphome:name: moisture_sensorplatform: ESP8266board: nodemcuv2wifi:ssid: "*********"password: "*********"ap:ssid: "Moisture Sensor Fallback Hotspot"password: "***********"captive_portal:# Enable logginglogger:# Enable Home Assistant APIapi:ota:sensor:- platform: adcpin: A0name: "Moisture sensor"update_interval: 60sunit_of_measurement: "%"accuracy_decimals: 3filters:- calibrate_linear:- 0.94 -> 0.0- 0.420 -> 100.0
Take into consideration the filters section and the linear calibration. Each sensor will live in its own soil, and thus have different min-max measurements. Using the linear calibration filter you can remap these values to ditch the unwanted data.
We now need to add the new integration inside the Configuration -> Integrations section. It should be discovered by default. If not, we can note the IP address of the board because it automatically connects to my WiFi network on boot. Using the IP address we can easily add the integration.
That’s it. We can now add the sensor as a card in the Lovelace interface and keep track of our plants.

You can take note that by doing this I actually learned the real names of my plants, as shown on the graph. 😎
I still had to adjust the sensitivity of the sensor on the PCB using a screwdriver, but the general idea was implemented. Time to stick the sensor in the soil and keep monitoring the status.
Or is it?
Failure
Welcome to the wonderful world of hardware. Where you may have all the connectors, boards, transformers or resistors, but it still won’t save you from the laws of physics.
Few days had passed and I started noticing strange behaviour on the graphs.

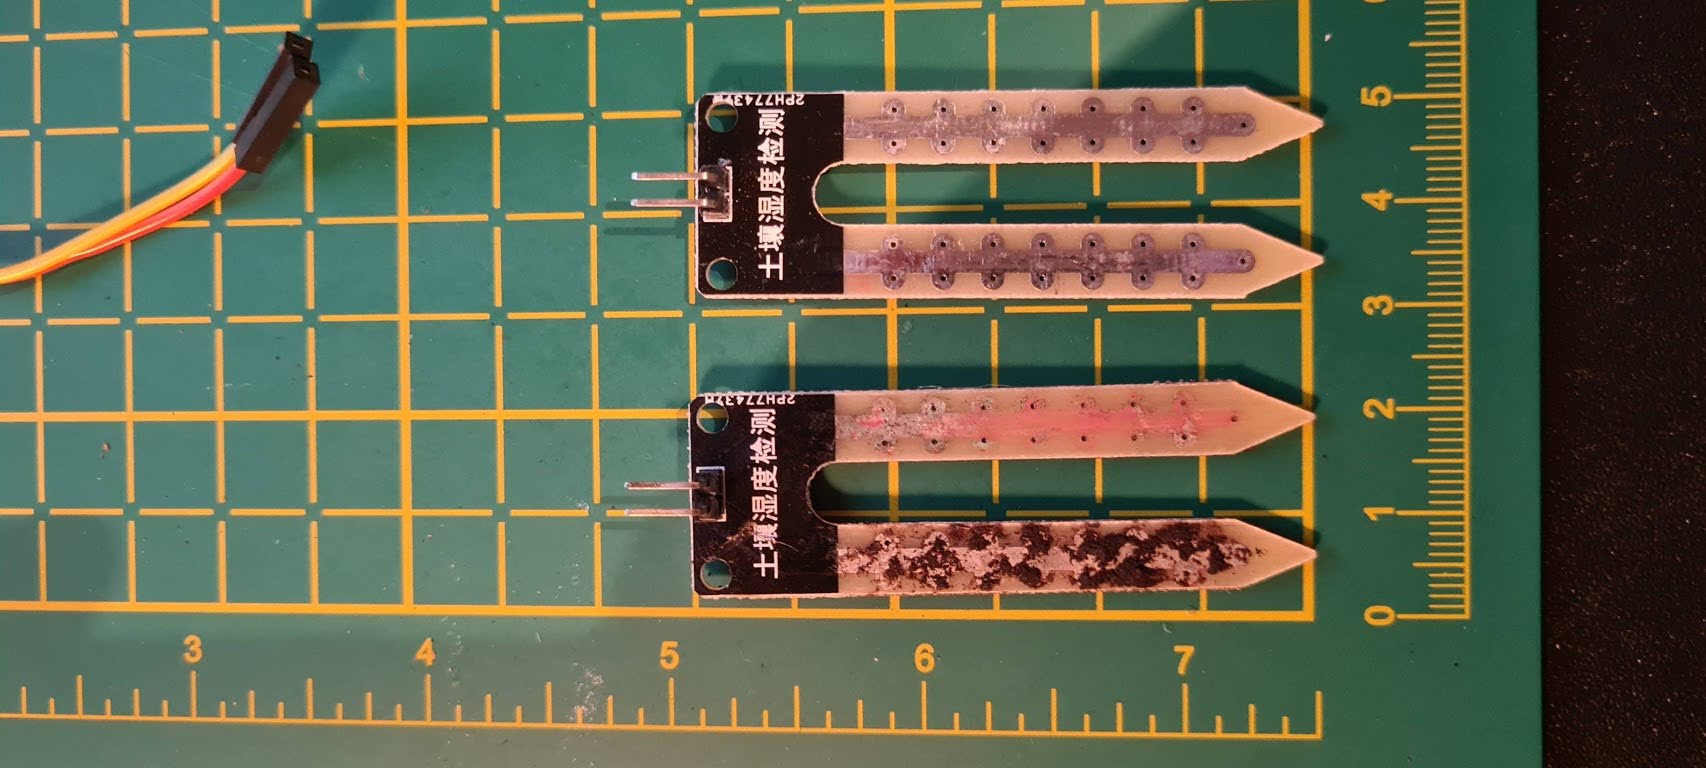
Flat as a pancake. Minor deltas were showing, but it is obvious they were measurement mistakes. There’s nothing else to do but check the sensor. And boy, oh boy… have I got a beautiful sight in front of me.

I personally find corrosion very eye-pleasing, but I was presented with a challenge. A quick Google search revealed to me that this is quite normal because of the way the sensor works. It measures the resistance between the two legs by applying current. More details can be found here.
The easiest and current approach is that I lowered the sensor refresh period in the ESPHome configuration yaml to 6 hours. That bought me some time which allowed me to find and order capacitive moisture sensors which won’t have these kind of problems. I am still waiting for them to arrive at this moment, so more on them in a future post.

There are a couple of other approaches which I consider more complicated because they include more hardware. They all seem like over-engineering when we have an alternative sensor solution.
For now I have 3 well-built contraptions with an exposed interface so I can switch the sensor with ease when it arrives. Looking forward to it.
A silver lining
I’m quite pleased with the solution. I had to make one 3-sensor replacement while waiting for the new sensors and still have a couple more of them for backup.
What keeps me motivated is the result.
I can now keep track of the plants and feed them according to the state. It took 2 months but the plants look better than ever. Yucca grew around 20% in height and all of them are blooming.

One of the next posts will also include automating them on a larger scale, so stay tuned in if you find this interesting.
Any questions or comments about the build are more than welcome. 🍻
Gallery