

Table of contents
We’ve got a small-but-worthy project on our hands.
We’re going to build a home camera for less than 10$ and integrate it with HomeAssistant.
The Parts
The first part we need is the brain. The ESP32-CAM board can be bought separately and interfaced with through the pins. But its evolution, the ESP-CAM-MB, includes an additional board which provides us with a micro-USB interface. The linked version provides you with a VGA resolution, but you can order other lenses.

We also need 2 IKEA Coasters, which I’ve also used in the lamp project. Any old Micro-USB cable will do as a connection to the power source.
Build
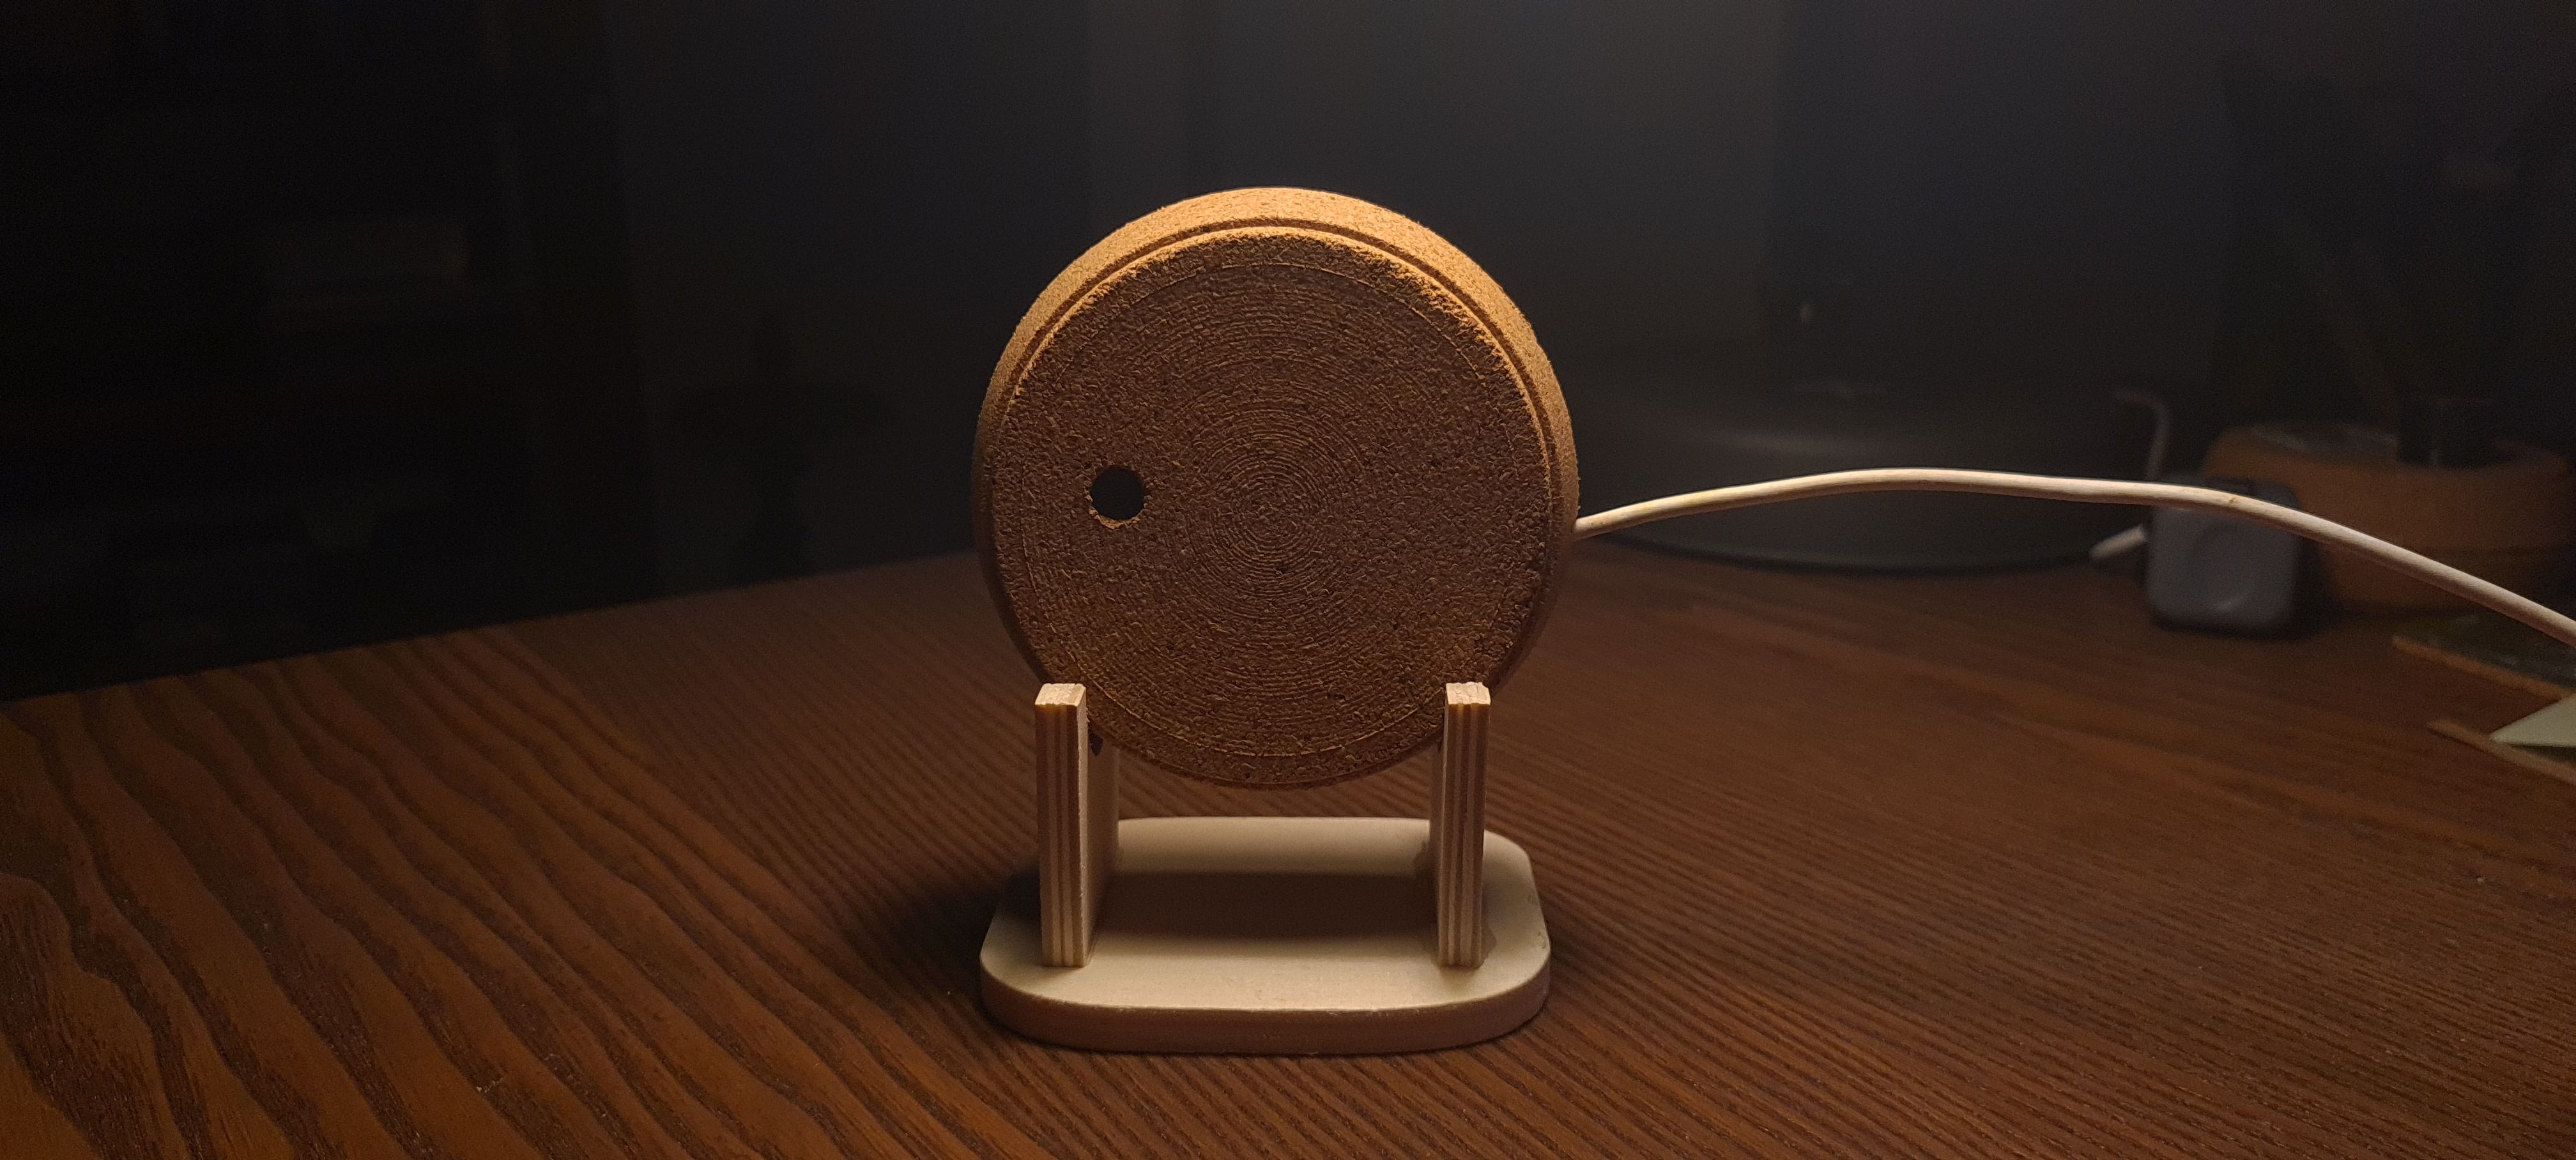
Carve a small hole, a bit larger than the camera lens. Also, carve a hole for the Micro-USB cable. Plug the cable into the board, stick everything together with a dab of instant glue, and voila…

We’ve got ourselves a decent looking camera.
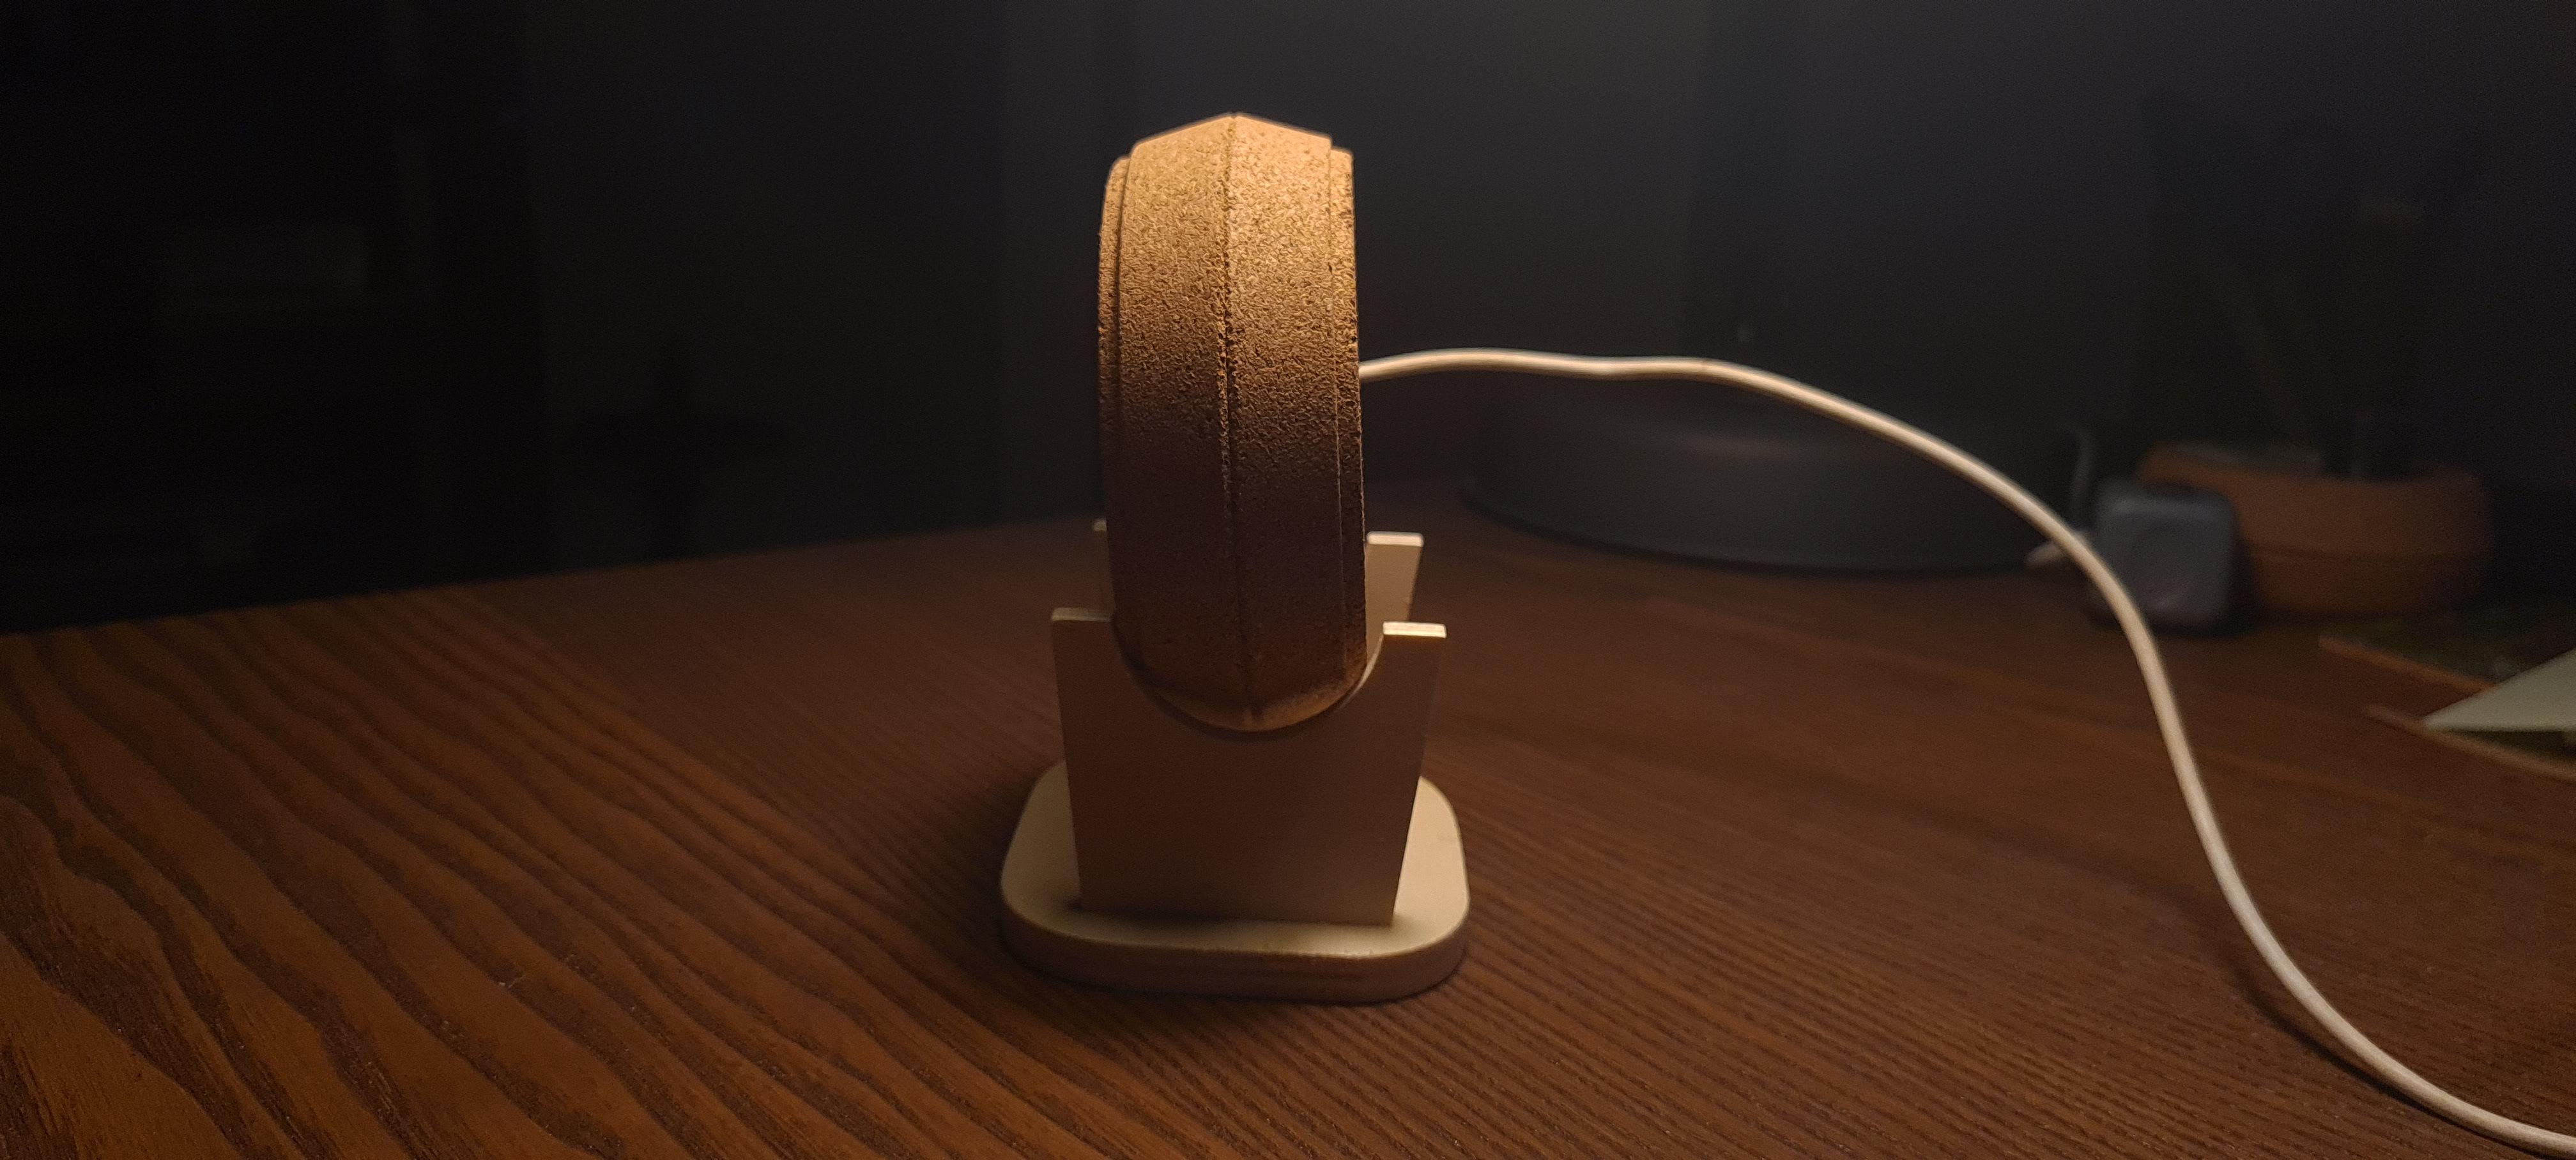
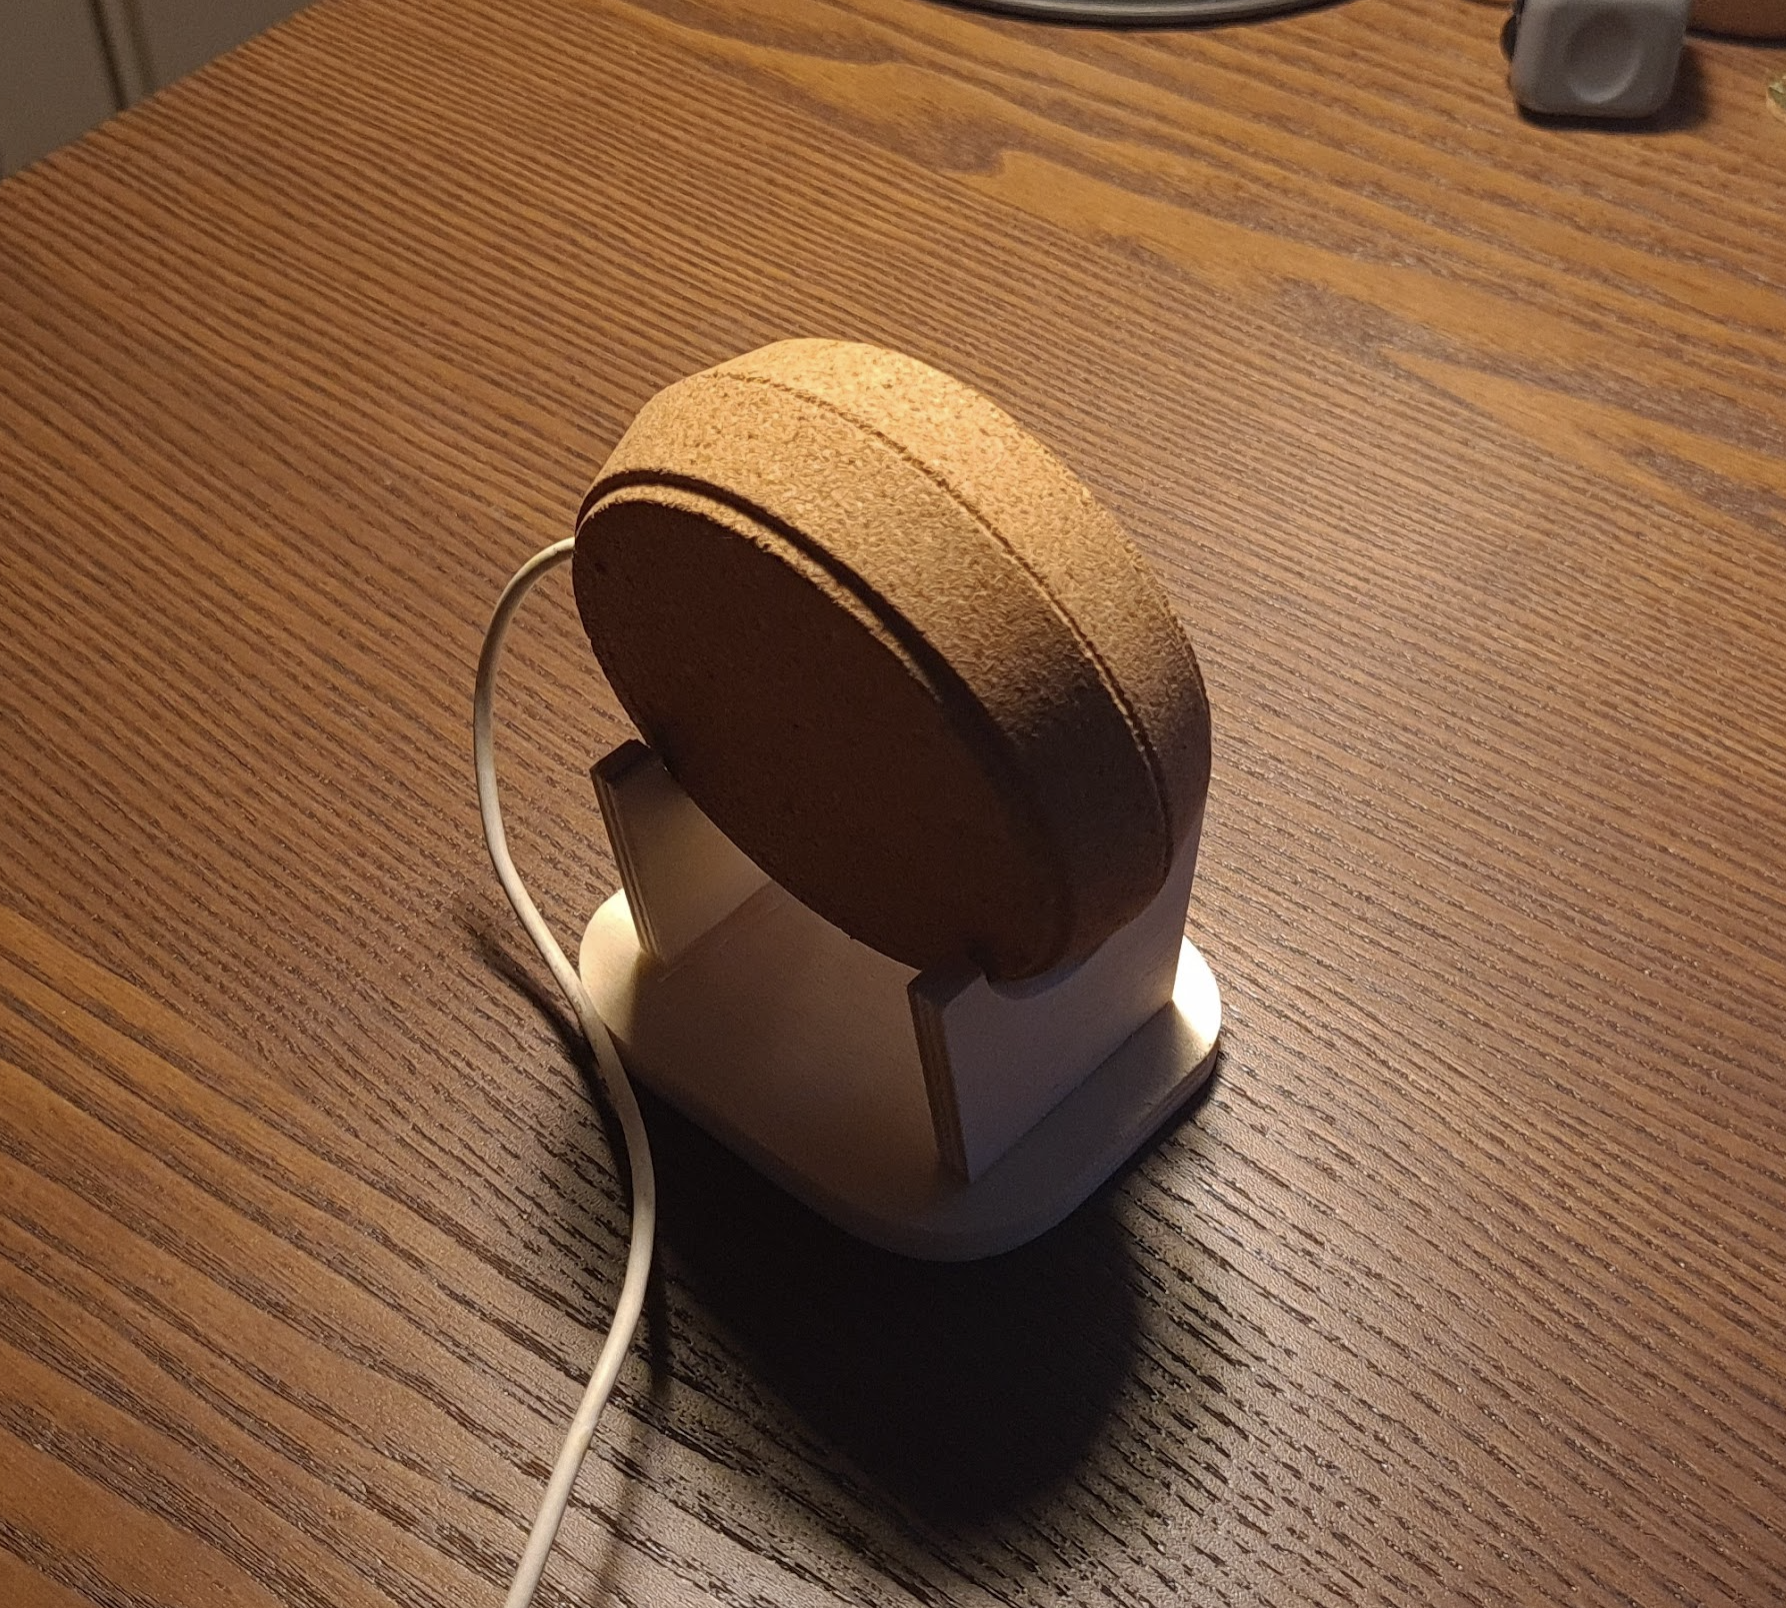
Dock
If you’re feeling fancy, buy a small wooden desk in a hobby shop, turn it upside down and you have yourself a docking station with easy mounting. You can see how mine came out in the gallery below.
Home Assistant Integration
To create a HomeAssistant entity, we have to add a new ESPHome device with this configuration, and upload the firmware to the board. The first firmware upload will have to go through a USB cable, but from then on, the over-the-air update will be available.
ESPHome configurationyaml
esphome:name: esp_camplatform: ESP32board: esp32camwifi:ssid: "**********"password: "**********"ap:ssid: "Esp Cam Fallback Hotspot"password: "***********"captive_portal:# Enable logginglogger:# Enable Home Assistant APIapi:ota:esp32_camera:name: My Cameraexternal_clock:pin: GPIO0frequency: 20MHzi2c_pins:sda: GPIO26scl: GPIO27data_pins: [GPIO5, GPIO18, GPIO19, GPIO21, GPIO36, GPIO39, GPIO34, GPIO35]vsync_pin: GPIO25href_pin: GPIO23pixel_clock_pin: GPIO22power_down_pin: GPIO32resolution: 640x480jpeg_quality: 10
After uploading the firmware to the board via ESPHome, go to the HomeAssistant configuration page, and click Integrations. Configure the new entity which should appear when the ESP device connects to the Wi-Fi.
After adding the new integration, we can go ahead and create a new Lovelace card with the next configuration.
Lovelace card configurationyaml
type: picture-entityentity: camera.my_camera
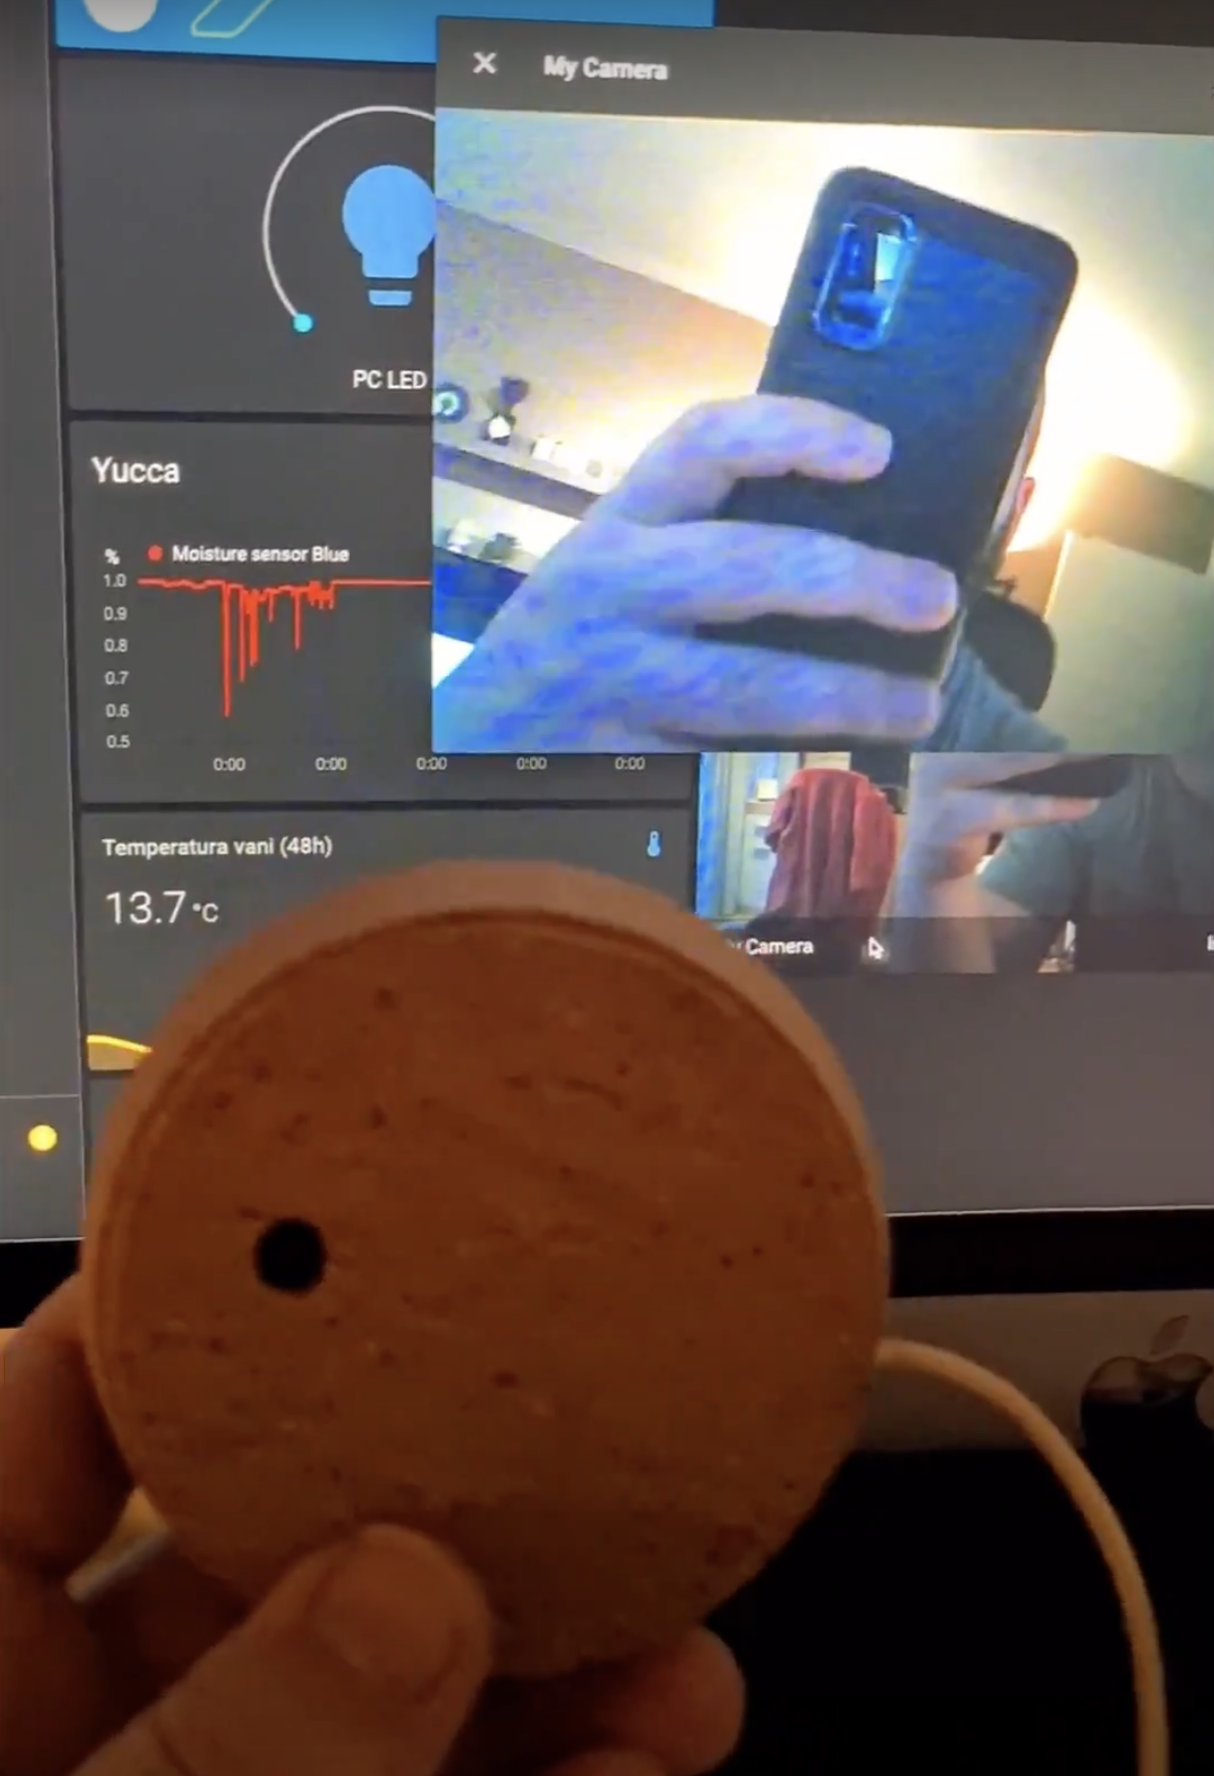
That’s it! Our camera stream is now shown in the Lovelace UI panel.
I mounted the camera at a fixed spot pointed at my balcony, created a NodeRED flow to take a photo every day at noon and upload it to an external storage drive. The idea is to create a time-lapse after a couple of months.

NodeRED FlowWhat do you use your hobby cameras for? Feel free to share your projects in the comments. 🍻
Gallery